Often, I need to create a linked server to an Azure SQL Database to run queries against it or schedule maintenance. Creating a linked server to an Azure SQL Database is slightly different than how you’ve likely been creating linked servers to other SQL Servers in your environment.
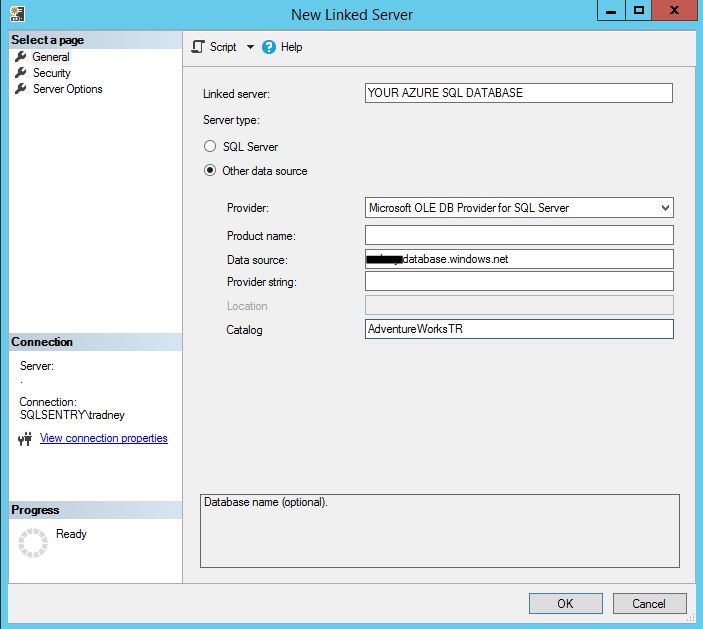
When expanding ‘Server Objects’ and right clicking ‘Linked Servers’ and selecting ‘New Linked Server…’ to create a linked server, most dbas initial instinct is to list the linked server name as the Azure server name and to use the server type of SQL Server. This would be incorrect, although it would still let you create the linked server with those values. Instead, use a friendly name for the Azure SQL Database as the linked server name. Then choose ‘other database source’ and list your Azure server as the ‘data source’. Next to catalog you’ll need to specify the Azure SQL Database name.
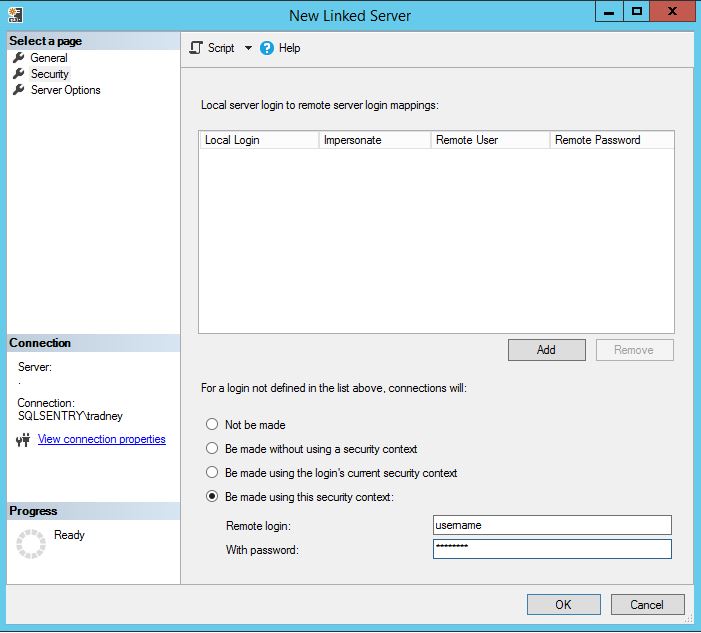
Next click on the security page and choose ‘Be made using this security context’ if you want to persist the connection information. Type in your username and password and click OK.
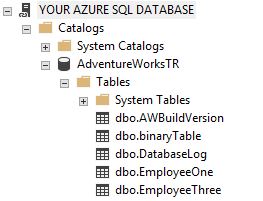
You should now see your linked server under ‘Server Objects’, ‘Linked Servers’. Expand your linked server and you’ll be able to browse the catalog to see your tables and views. You can now reference the linked server as needed.


